AI编程工具 - OpenCode、Claude Code
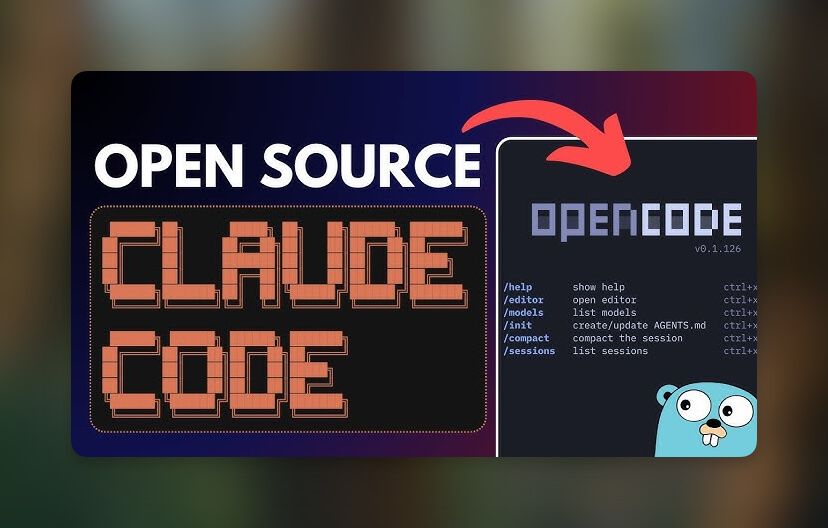
开源 AI 编程代理 OpenCode
内置免费模型,或连接任意提供商的任意模型,包括 Claude, GPT, Gemini 等。可使用 Nvidia提供的免费大模型API。
安装 OpenCode
OpenCode 支持 macOS / Windows / Linux 多平台安装。
通用一键安装脚本这是最简单的方法:1
curl -fsSL https://opencode.ai/install | bash
安装完成后,你应该能通过命令行运行:1
opencode --version
OpenCode 常用命令
1 | opencode # 启动 opencode |
OpenCode 自定义模型配置
路径:~/.config/opencode/opencode.json1
2
3
4
5
6
7
8
9
10
11
12
13
14
15
16
17
18
19
20
21
22
23
24
25
26
27
28{
"$schema": "https://opencode.ai/config.json",
"provider": {
"nvidia": {
"npm": "@ai-sdk/openai-compatible",
"name": "nvidia",
"options": {
"baseURL": "https://integrate.api.nvidia.com/v1",
"apiKey": "nvapi-bBT"
},
"models": {
"qwen/qwen3.5-122b-a10b": {
"name": "nvidia/qwen3.5-122b-a10b"
},
"qwen/qwen3-coder-480b-a35b-instruct": {
"name": "nvidia/qwen3-coder-480b"
},
"minimaxai/minimax-m2.5": {
"name": "nvidia/minimax-m2.5"
},
"z-ai/glm5": {
"name": "nvidia/GLM5-z-ai"
}
}
}
},
"model": "nvidia/qwen/qwen3.5-122b-a10b"
}
Nvidia 提供免费大模型API接口
https://build.nvidia.com/models
ps:使用教育邮箱注册可以跳过手机号验证(随时可能失效)
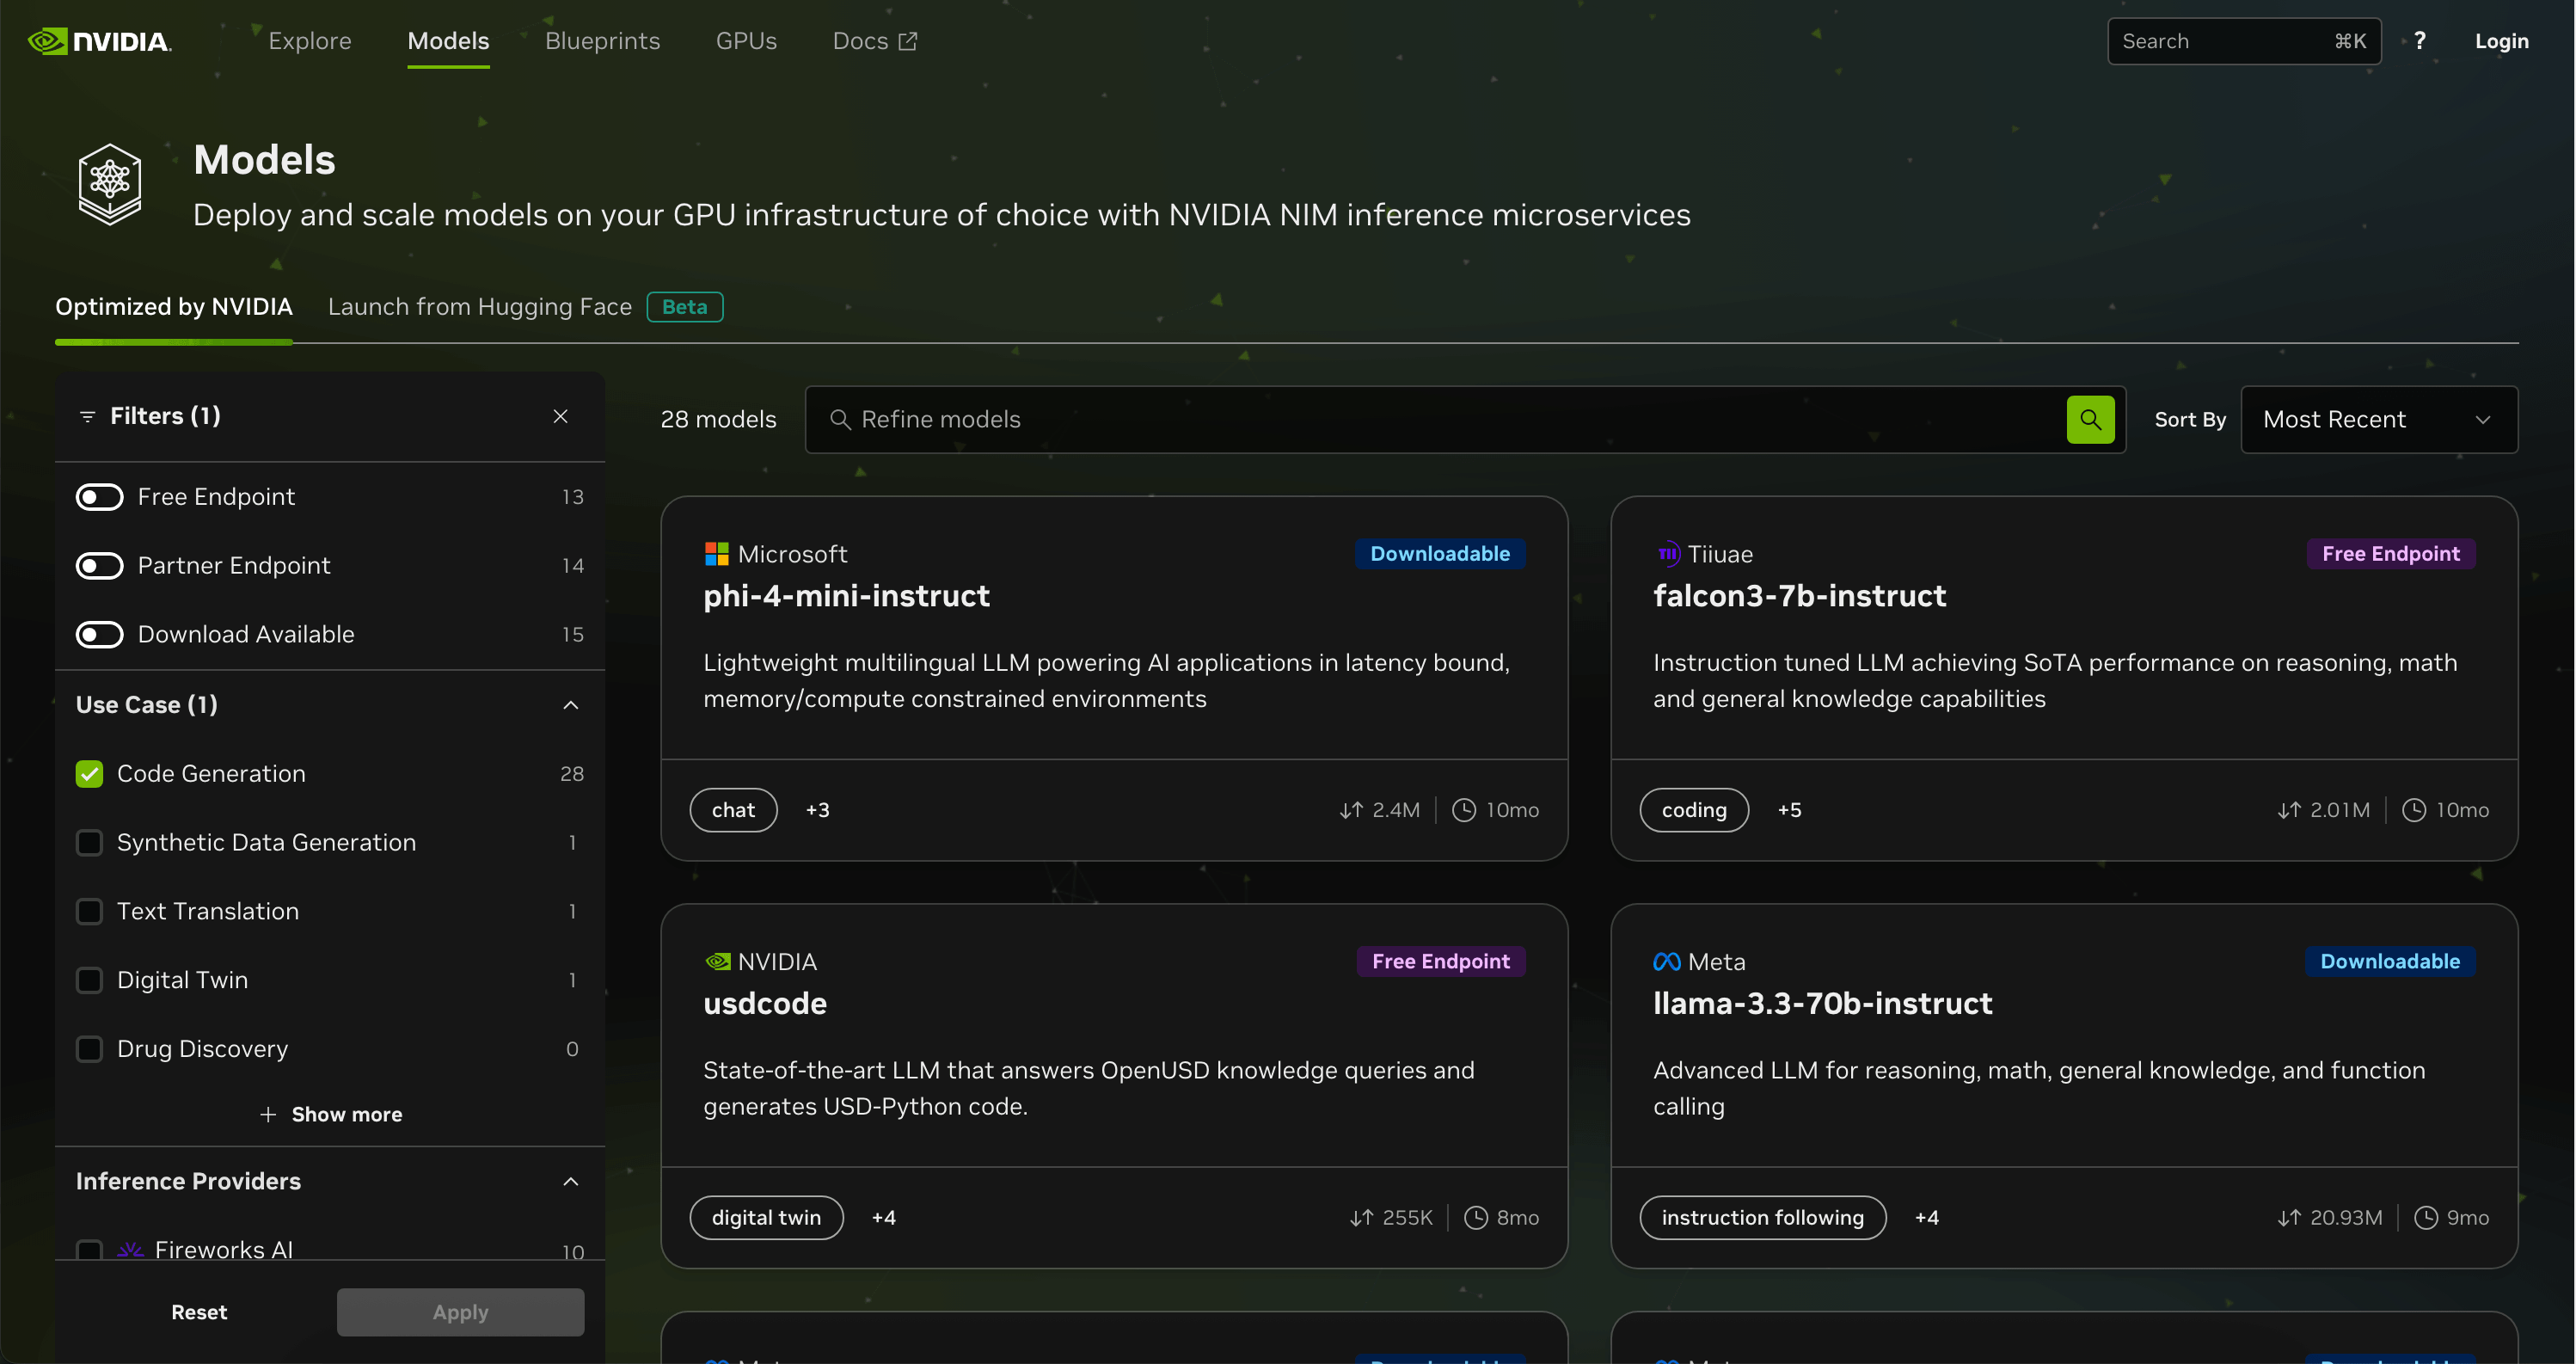
查看模型ID以及其它参数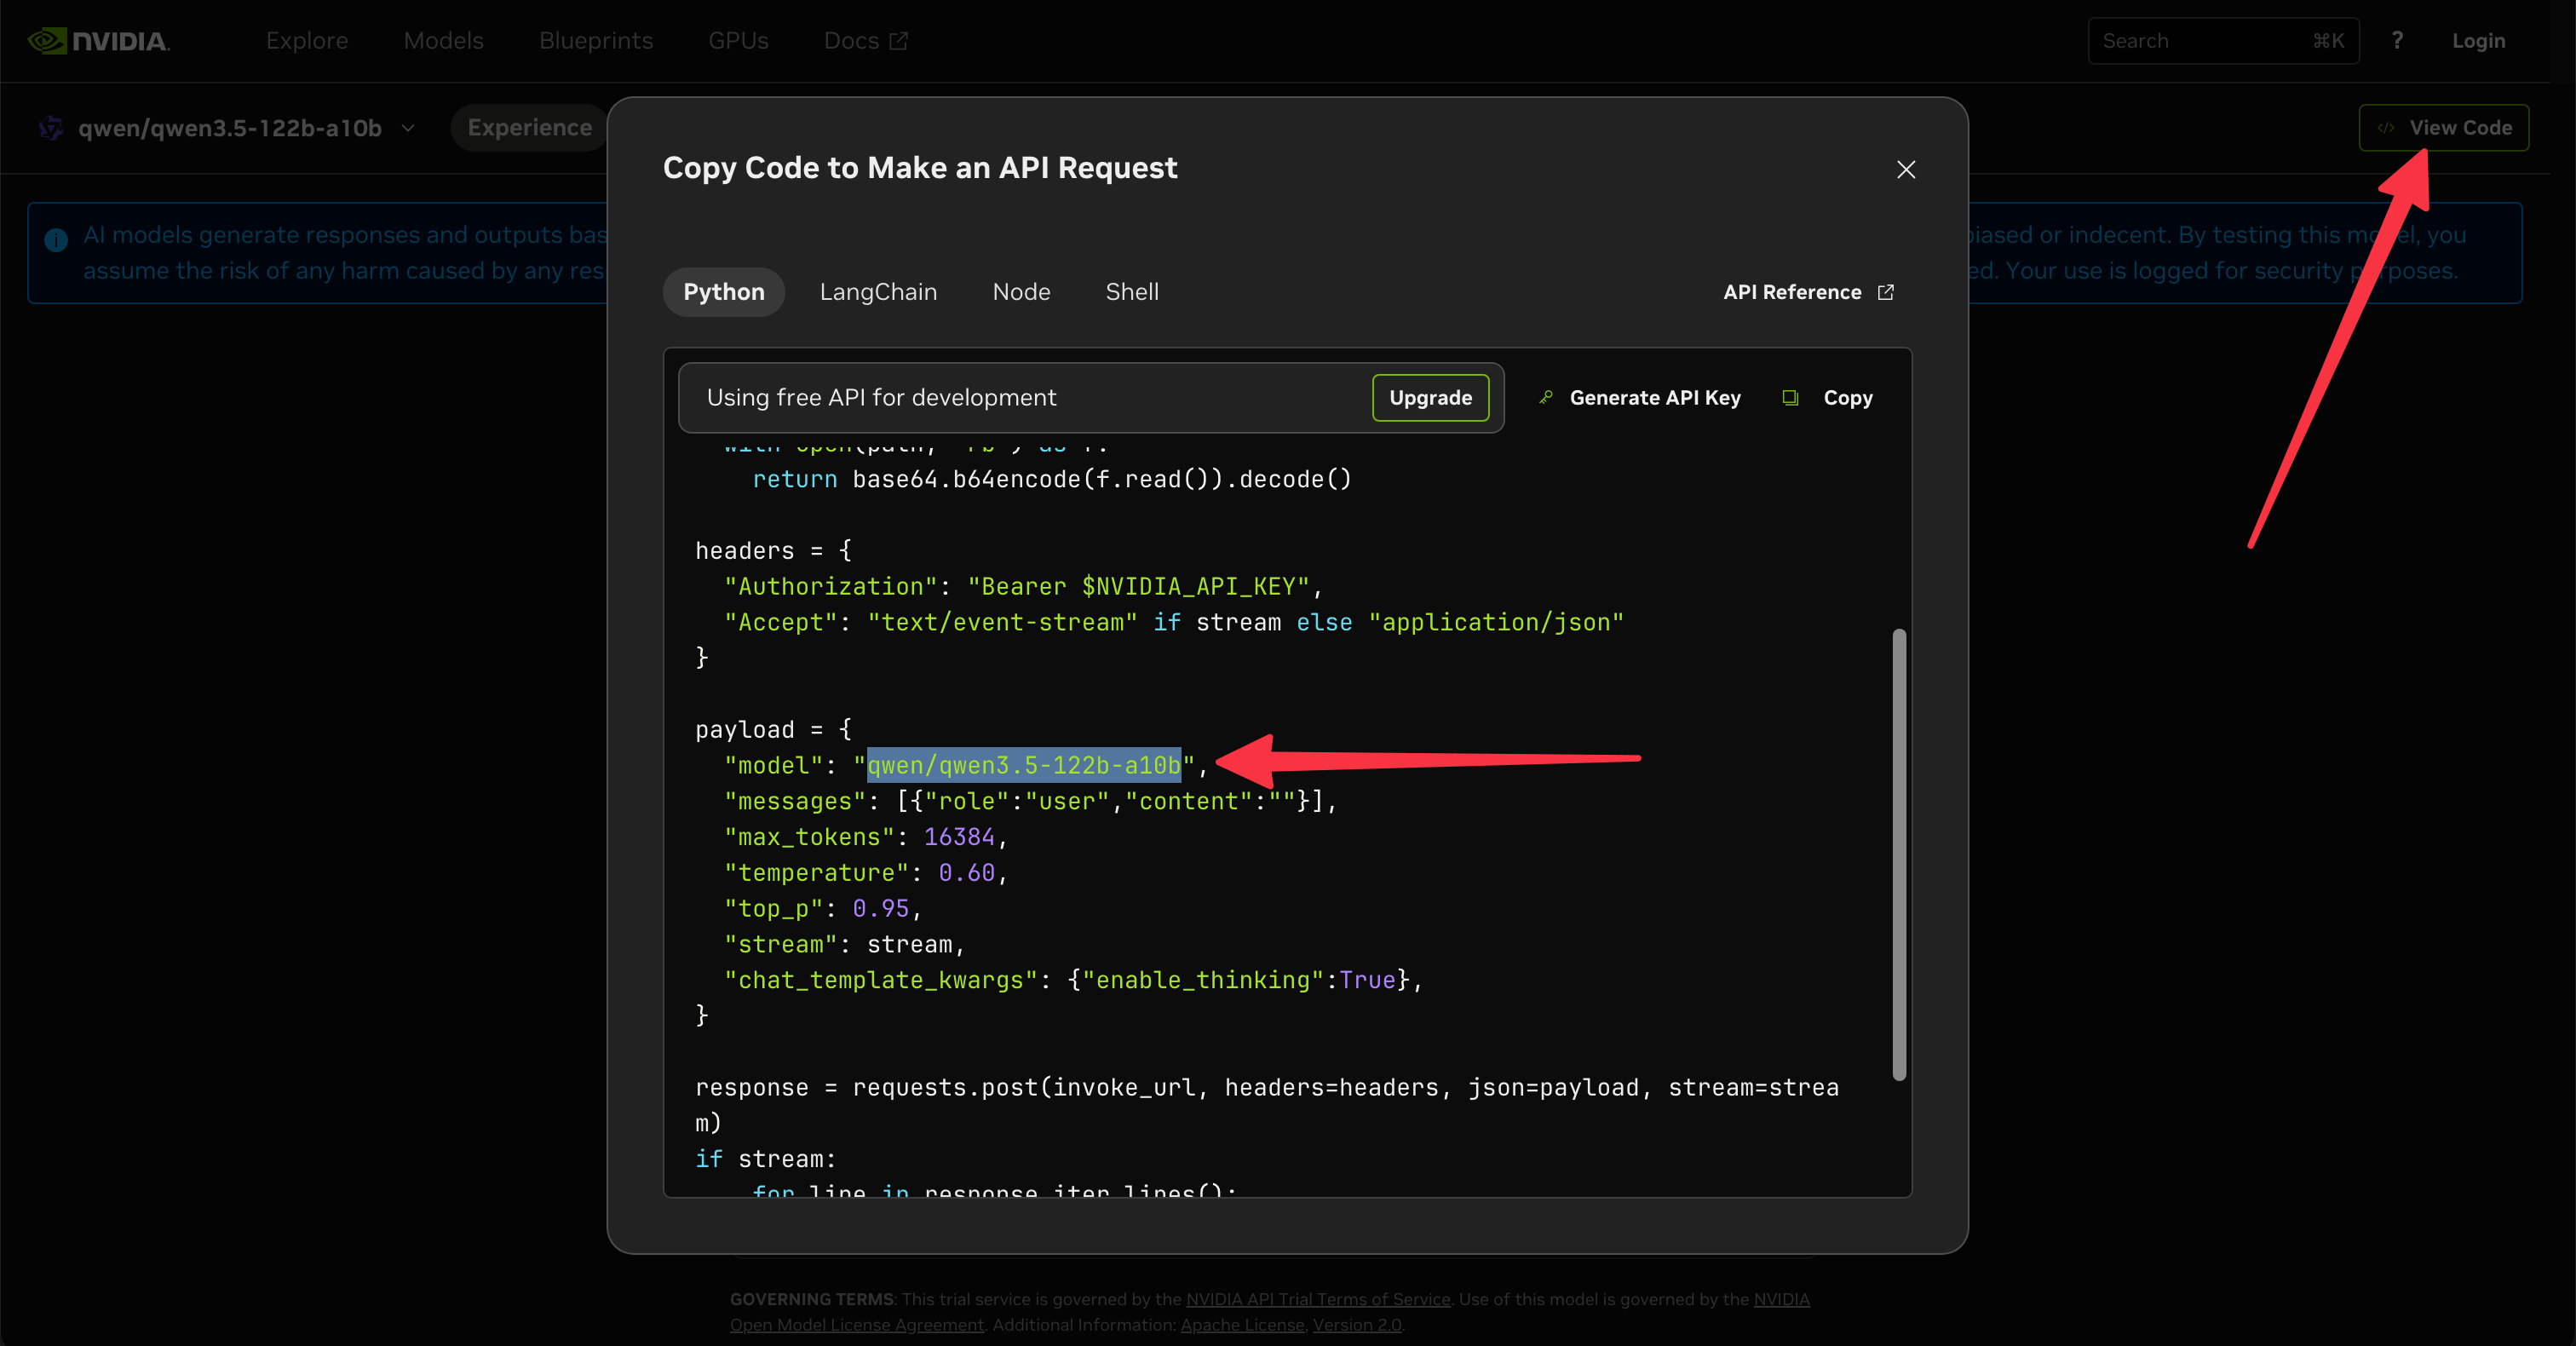
VS Code 插件 - hunkwise
hunkwise 插件是在 VSCode 中为 Claude Code 和 OpenCode 设置按代码块接受/放弃审查
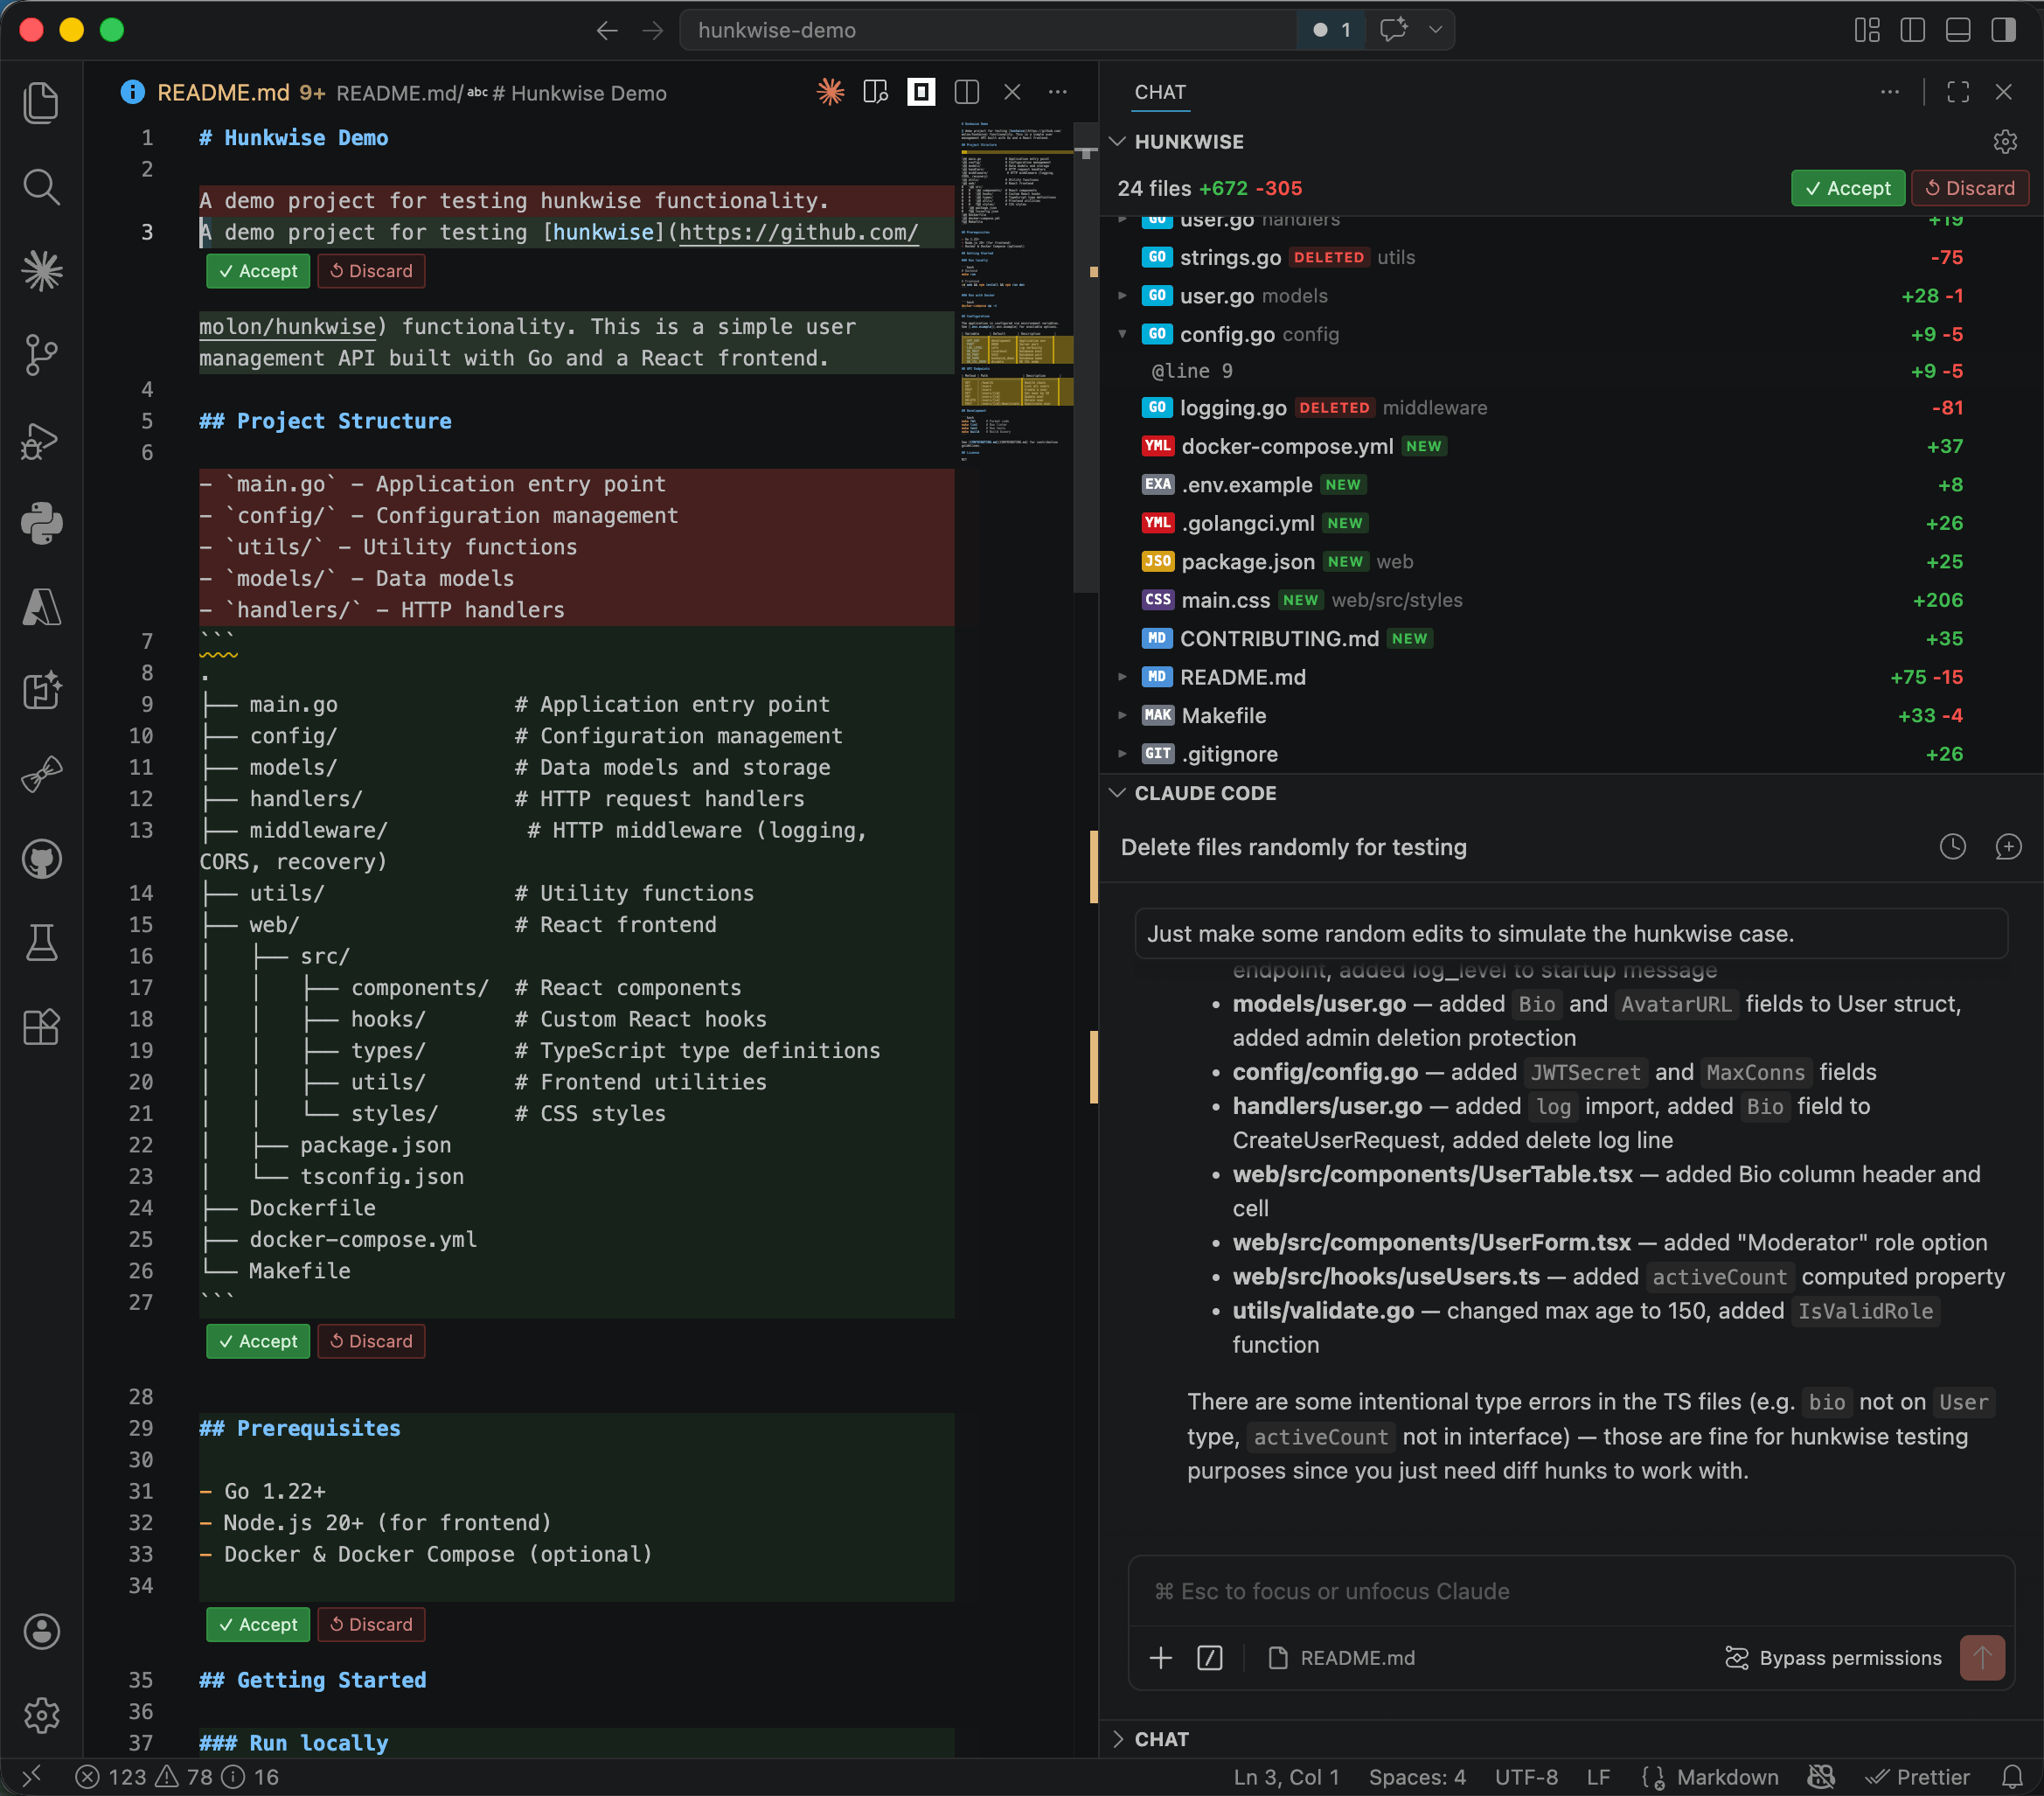
hunkwise 是一个 VSCode 扩展,它使用一个提议的(私有)API — editorInsets — 因此无法从市场安装,需要特殊设置。
先决条件
- Node.js (>=18) and npm available
- git available
codeCLI resolvable (see Step 3 for platform-specific paths)
安装步骤
步骤 1:克隆存储库
克隆到名称唯一的临时目录中,以避免冲突:
1 | HUNKWISE_TMP=$(mktemp -d /tmp/hunkwise-XXXXXX) |
在 Windows 系统中,请使用基于时间戳的名称:
1 | set HUNKWISE_TMP=%TEMP%\hunkwise-%DATE:~-4%%DATE:~3,2%%DATE:~0,2%-%TIME:~0,2%%TIME:~3,2%%TIME:~6,2% |
记住目录路径——您将在步骤 6 中进行清理时需要用到它。
步骤 2:安装依赖项并编译
1 | npm install |
如果编译失败,则停止编译并将 TypeScript 错误显示给用户。
步骤 3:使用 vsce 打包
1 | npx @vscode/vsce package --allow-missing-repository |
这会在项目根目录生成 hunkwise-<version>.vsix 。请勿使用 --no-dependencies ——运行时依赖项( ignore 、 diff )必须打包。
步骤 4:检测已安装的 VSCode 构建并安装 .vsix 文件
首先,检测已安装哪些 VSCode 版本,然后将其安装到所有版本中。
按平台划分的已知 CLI 路径:
| 平台 | 构建 | CLI 路径 |
|---|---|---|
| macOS | Stable | /Applications/Visual Studio Code.app/Contents/Resources/app/bin/code |
| macOS | Insiders | /Applications/Visual Studio Code - Insiders.app/Contents/Resources/app/bin/code |
| Windows | Stable | %LOCALAPPDATA%\Programs\Microsoft VS Code\bin\code.cmd |
| Windows | Insiders | %LOCALAPPDATA%\Programs\Microsoft VS Code Insiders\bin\code-insiders.cmd |
| Linux | Stable | code (in PATH) |
| Linux | Insiders | code-insiders (in PATH) |
macOS/Linux — 检测并安装到所有现有版本中:
1 | VSIX=$(ls -t hunkwise-*.vsix | head -1) |
Windows — 检测并安装到所有现有版本中:
1 | REM Use the actual .vsix filename produced by vsce in Step 3 |
步骤 5:配置拟定的 API(每次构建只需设置一次)
由于 hunkwise 使用的是拟议 API,因此每个已安装的 VSCode 构建都必须通过用户配置目录中的 argv.json 文件启用它。将此操作应用于步骤 4 中检测到的每个构建——跳过已存在 "molon.hunkwise" 的构建。
argv.json 位置(与步骤 4 的构建相同):
| 平台 | 构建 | 路径 |
|---|---|---|
| macOS/Linux | Stable | ~/.vscode/argv.json |
| macOS/Linux | Insiders | ~/.vscode-insiders/argv.json |
| Windows | Stable | %USERPROFILE%\.vscode\argv.json |
| Windows | Insiders | %USERPROFILE%\.vscode-insiders\argv.json |
对于每个相关的 argv.json :读取现有文件,然后添加或合并 "enable-proposed-api" ——不要覆盖其他字段:
1 | { |
如果该键已存在且具有其他值,则追加 "molon.hunkwise" ,而不是替换数组。
步骤 6:清理
删除克隆的目录:
1 | rm -rf "$HUNKWISE_TMP" |
在 Windows 系统中: rmdir /s /q %HUNKWISE_TMP%
步骤 7:重启 VSCode
告知用户完全退出并重新打开 VSCode (而不仅仅是关闭窗口),以便扩展程序和建议的 API 设置生效。
笔记
package.json中的enabledApiProposals: ["editorInsets"]字段启用vscode.window.createWebviewTextEditorInset功能,该功能用于在编辑器中以内联方式嵌入每个代码块的“接受/放弃”按钮。如果没有启用该字段,这些按钮将不会显示。- 设置存储在工作区内的
.vscode/hunkwise/settings.json中,而不是 VSCode 全局设置中。 - 如果扩展程序激活失败,请检查 exthost 日志:
- macOS:
~/Library/Application Support/Code[-Insiders]/logs/<timestamp>/window1/exthost/exthost.log - Windows:
%APPDATA%\Code[-Insiders]\logs\<timestamp>\window1\exthost\exthost.log
- macOS:
在VSCode中使用 hunkwise 插件
按快捷键 command + Shift + p 搜索:hunkwise 选择 hunkwise: Enable 启动
启动后AI编写代码后在vscode打开的文件中即可看到修改的内容,可以选择接受或拒绝。类似Cursor编程体验。